Что нужно:

- A4 paper or carton (A3 paper optional)
- Распечатка тут
- Printer
- Stapler
- Scissors
- Stick glue
- Elastic band, about 25 cm (10 in)
1. Print and Cut the Template
Step 1
Print the template on a thick A4 sheet or carton. You can also print it out in A3 size to make a bigger hand puppet if you wish. The small one is more suitable for kids’ hands. The dotted lines on the pattern mark the points where you need to cut and fold.
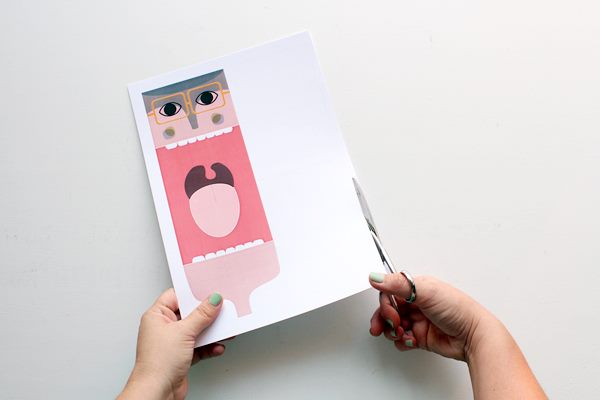
Step 2
Using a pair of scissors, trim off the white edges outside the dotted rectangle. You may also use a cutter and a cutting mat for more precision.

2. Fold and Glue the Puppet
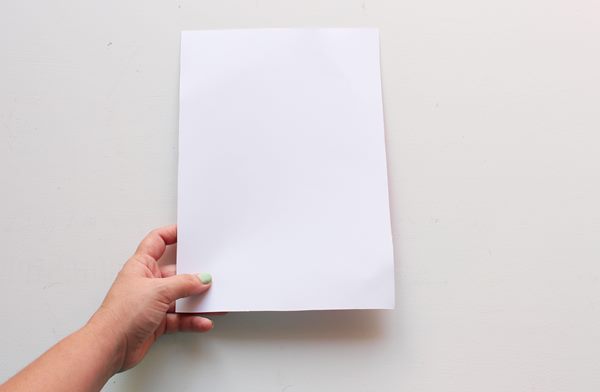
Step 1
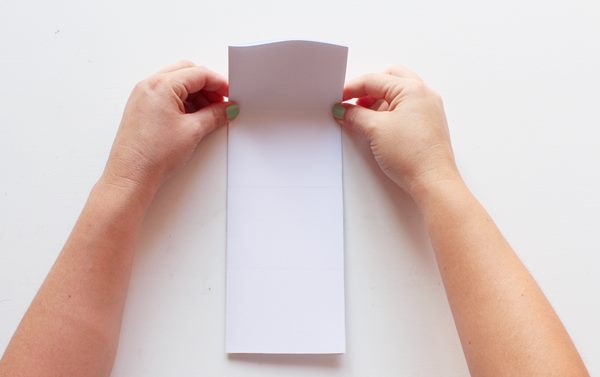
Place the page on on a flat surface with the printed side facing down.
Fold the page in half along the vertical central line, by bringing the left edge towards the right. Follow the dotted line as a guide. Once folded, crease well. You may use a bone folder or the back of a metal spoon for perfectly sharp folds.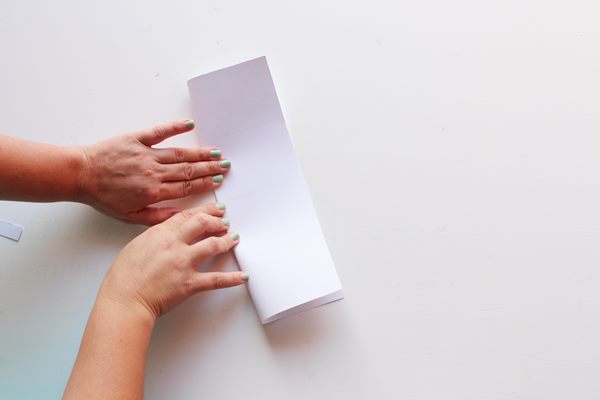
Step 2
Open up the page and apply some stick glue. Please don’t forget the corners of your page.


Step 3
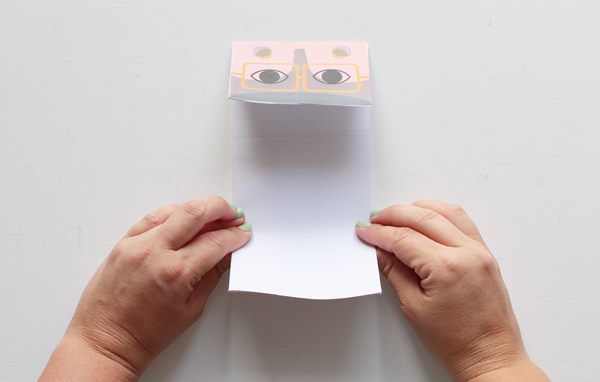
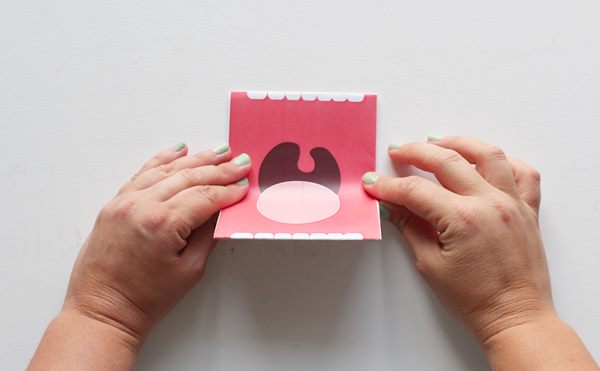
Now, following the upper dotted line of the pattern, fold the upper part of the page downwards.
And crease well. Now the face should appear looking upside down.

Step 4
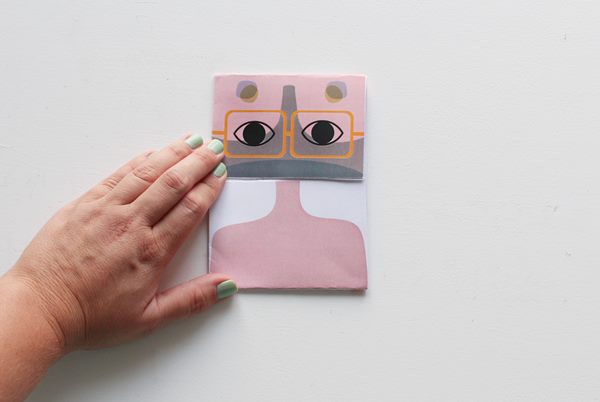
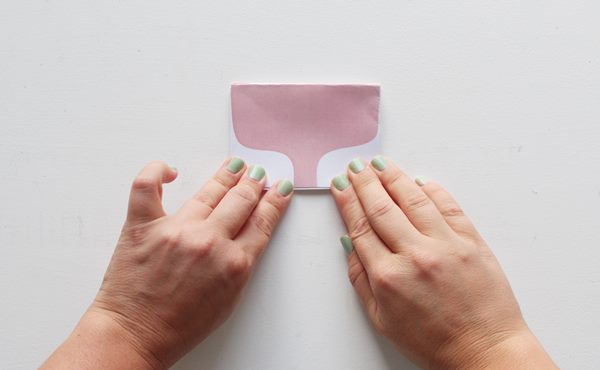
Now bring the lower edge of the page upwards and fold along the dotted line.
Crease well.
Step 5
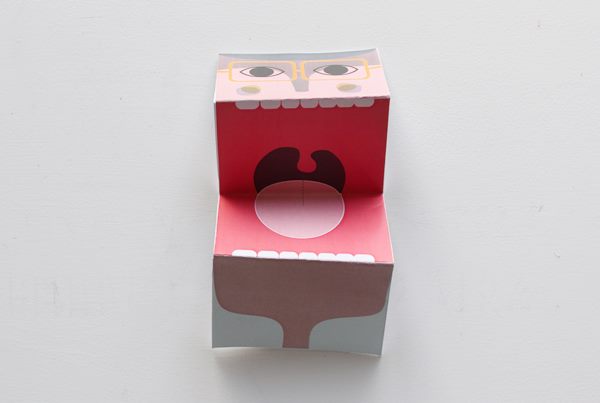
Flip the face over so that you can see the mouth.
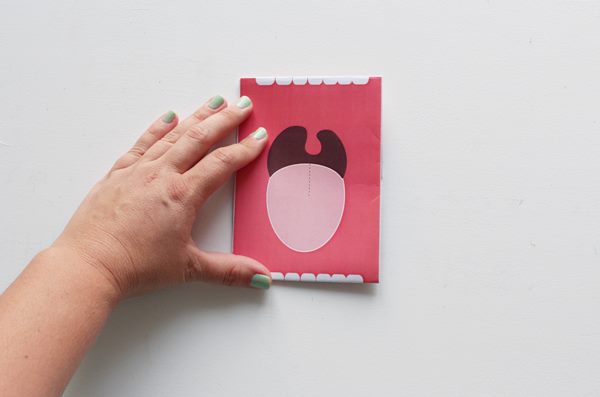
Fold in the center.
Carefully align the lower edge with the upper edge and then crease.
Open the puppet up. You actually made an accordion fold, where the mouth should be on the inside and the face on top. Well done!
3. Add the Elastic Band
Step 1
Measure the elastic band on the puppet. You need it to be slightly longer than the width of your puppet.
Step 2
Cut the elastic band on the measured length. You can carefully burn the edge of the elastic with a lighter to avoid fraying.
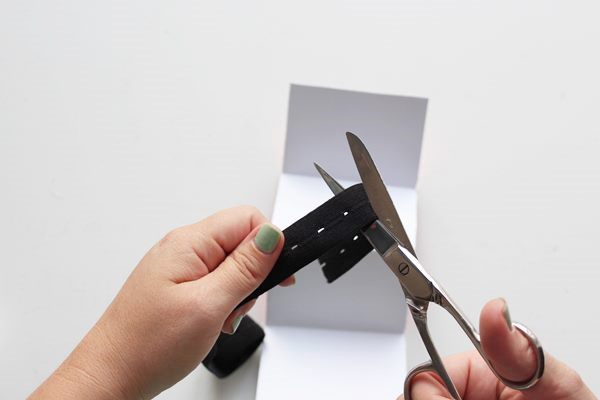
Cut a second elastic band of the same size.

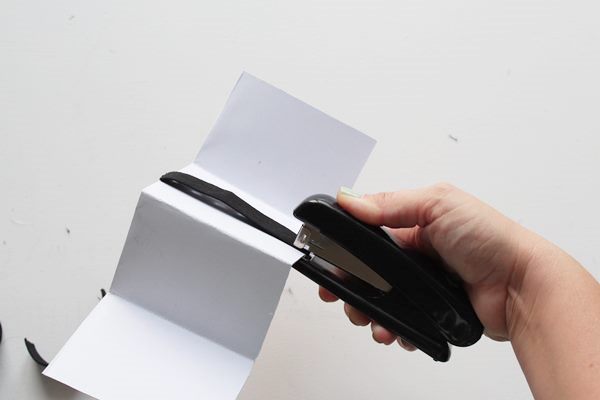
Step 3
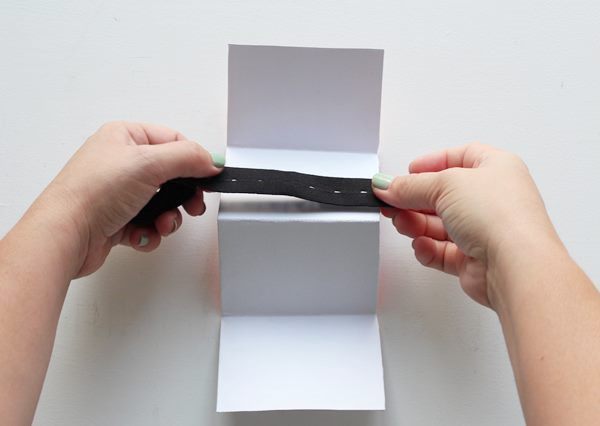
Place the elastic bands on the two central pieces of your puppet, the ones behind the mouth. You need to place the upper elastic on the center of the rectangle. Use a stapler to secure both edges of the elastic band.
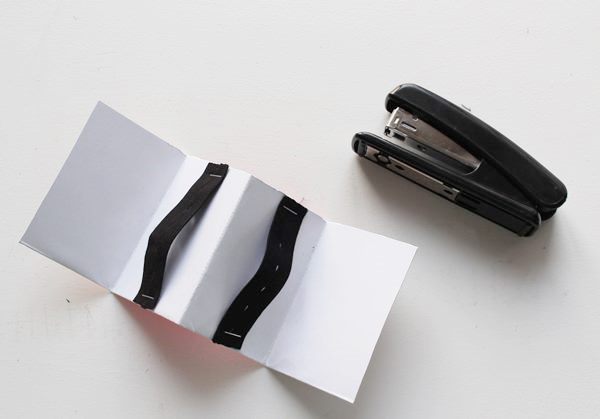
Place the elastic band underneath, a bit closer to the fold. This one is for the thumb, which is shorter than the rest of your palm—that is why! Secure it in place by stapling both edges.
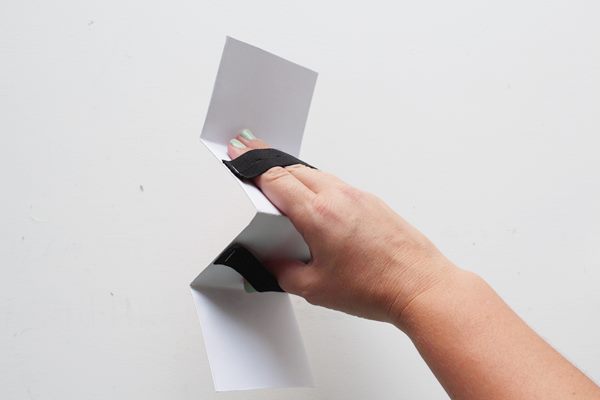
Step 4
Slip your fingers into the top elastic band and your thumb into the bottom elastic band. This way you can easily open and close your hand puppet’s mouth.
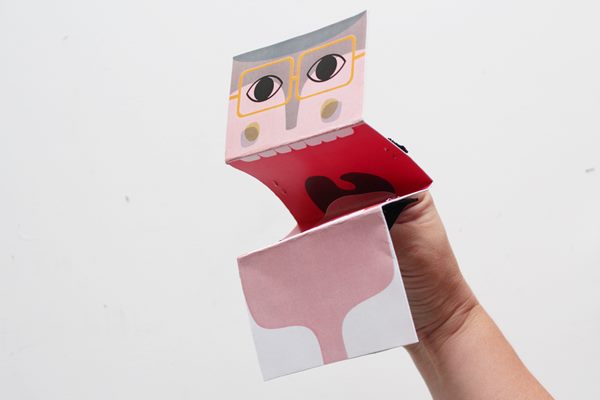
Play!
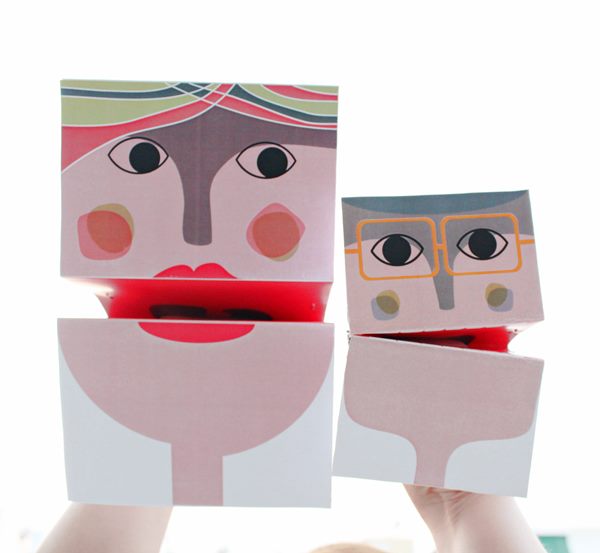
In this tutorial you learned an easy way to create paper hand-puppets using simple materials you already have at home. Just by printing the template and with a few cuts and folds even a kid can do, you have a lovely hand-puppet in five minutes.
Now that you’ve got the hang of it, you can also make a bigger one by printing the template on A3 paper. For the larger puppet repeat all the steps; just make sure you keep the elastic band of the same size as the small one for easier gripping.
And why not make some unprinted white ones and let the kids create their own heroes with hand drawings!


Hope you enjoyed this tutorial! Any more ideas of which kids’ craft projects you would like to learn next?