-
TOOLS
-
- iron
- sewing machine
- scissors/rotary blade
-
MATERIALS
- ironing board
- heavy-duty needle (18/110)
- coordinating thread
- no-slip rug pad
- pins
- cotton batting (it comes in quilt sizes – baby, twin, queen or king)
- heavy-weight home fabric for the main rug and for the border/binding
STEP 1
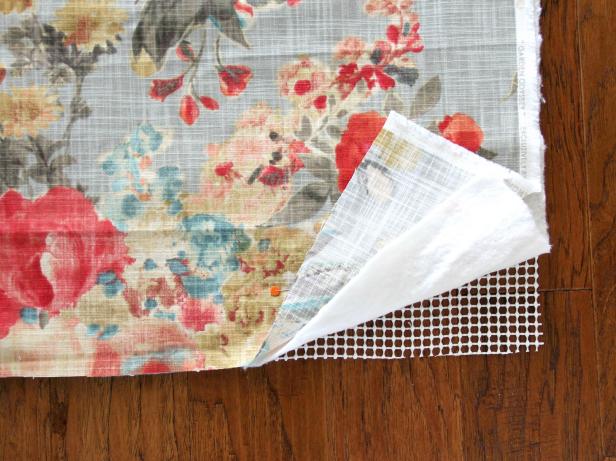
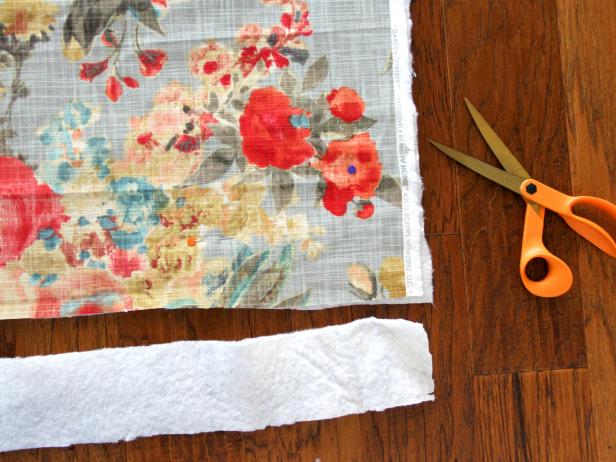
Position Layers of Fabric
Lay the no-slip rug pad on the floor. Press it flat to remove all creases. Lay the cotton batting on top of the rug pad, also pressing out any creases or folds. Then lay the fabric right-side up on top of those two layers, making sure it is nice and flat as well (Image 1). Cut off any excess around all four sides so that all three layers are the exact same size (Image 2).
STEP 2

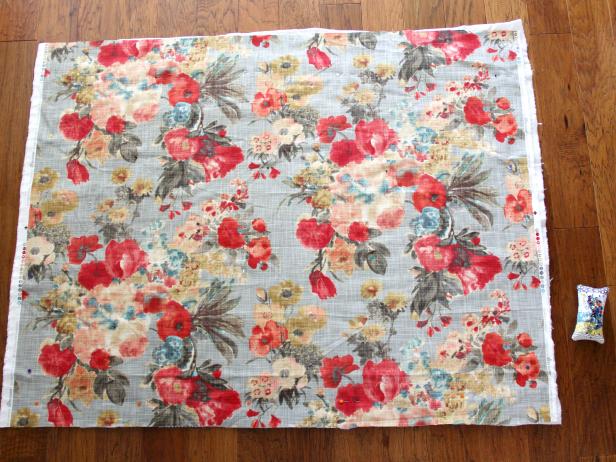
Pin Layers Together
Pin the three layers in place in various spots around the rug (Image 1). Make sure the three layers stick together and do not shift. You should now have a nice large three-layer rectangle or square, pinned all around the edges and center (Image 2).
STEP 3

Cut Border Fabric
From the outer edge fabric, cut four 4″ strips of fabric from selvage to selvage (width of fabric). You may need to cut more strips if your rug is larger than the width of your fabric and sew the strips together.
STEP 4


Fold Borders
Iron the strips as if you were making your own homemade bias tape. Fold each strip in half wrong-sides together, straight down the middle and iron to create a crease. Open up the fold and then fold in the outer edges 1/4″ towards the wrong side and press flat (Image 1). Repeat for all four strips. Fold the strip in half again, enclosing the 1/4″ edge folds in the center, and press (Image 2). Repeat for all four strips. Now you’re ready to bind your rug.
STEP 5

Pin Border to Rug
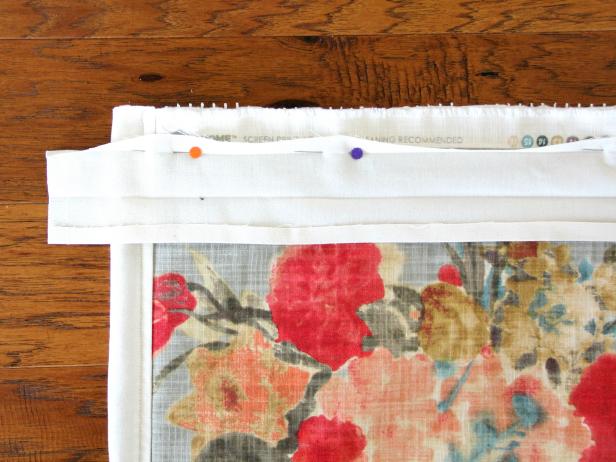
Unfold one strip and place it right-side down (with the folds facing up) along the edge of one side of your rug. Keep the edge of your binding about 1-1/2″ away from the edge of your rug, and pin along the 1/4″ folded line. Do this for only ONE side of the rug.
STEP 6

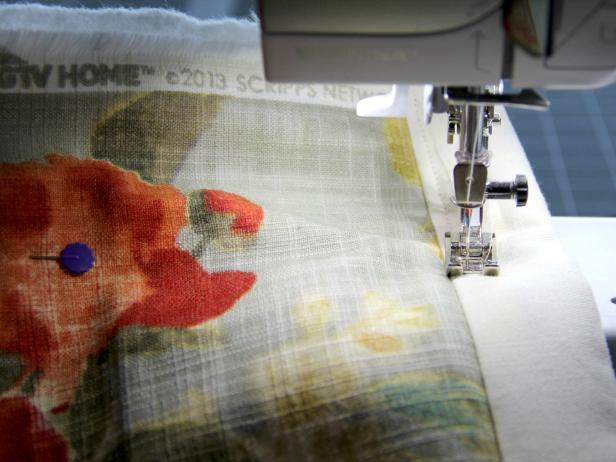
Stitch Border to Rug
Sew the binding in place using a heavy-duty needle. Sew directly on the 1/4″ fold line so you won’t see the stitches when the binding is folded back over. Remove the pins as you sew (Image 1). Fold the binding over the raw edge of the rug, enclosing the side of the fabric. The center fold of the binding should be the outer edge of the rug. Pin in place. Sew directly on top of the binding to secure in place (Image 2). You can also hand sew the bottom binding in place with a whipstitch if you do not want to see a stitched line along the top.
STEP 7


Sew Adjacent Border
To work on the adjacent edge, place the binding along the edge as you did the first time, but allow a few inches to hang off of each end (Image 1). Fold the excess fabric over the corner towards the back of the rug and pin in place (Image 2). It should look something like this. Sew the binding onto the rug as you did for the previous sides (Image 3).
STEP 8

Finishing Steps
If your rug has some wrinkles in it, use an iron on a low-setting to carefully get them out. Just make sure to press gently, and not let the iron linger because you do not want to melt the no-slip rug pad underneath.
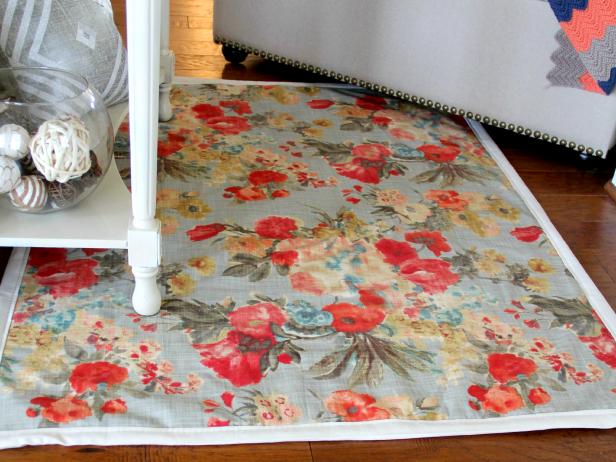
DIY Network has instructions on how to turn home decor fabric into an area rug.
Источник: How to Make a Rug From Upholstery Fabric